
Opening Oysters
- Mar 9, 2024
- 1 min read
Updated: Mar 20, 2024
Getting your oysters open and on the half shell is fundamental for many recipes. Opening oysters can be done several ways.
Shucking Raw Option: Shucking the oysters traditionally means you are shucking and plating the oysters to cook as if you were going to eat them raw. This is our preferred method at the Lynnhaven Oyster Club. We prefer shucking oysters raw to cook for three reasons: Click the arrowheads at left to expand.
By starting with all oysters at the same state, we can control the cook-time so that the entire batch finishes at the same time.
Preserving the oyster liquor, even if most of the liquid boils off during the cook, is key to the taste of the dish.
Cooking for large groups and making time for guests is easier by performing a pre-shuck and keeping the oysters refrigerated so that when it is time to cook, all preparation is complete.
Note: This post is about choosing how to open your oysters for a cooked dish. A deep-dive into exactly how to shuck an oyster for a raw presentation is covered at length on YouTube. We will post our favorites here. You may also want to consider a hand-on class like LOC's Opening Oysters Demystified (see below).
Heating Oysters Open: Fire, Oven, Grill, Burner or Microwave: Using heat to boil and expand the water inside an oyster is a tried and true method of opening. For the purpose of opening oysters, you are heating them to the point of "boiling over" and popping open a gap of about 1/8th of an inch between the shells. You will know they are close when you start to see small steam jets escaping from where the oyster shells come together opposite from the oyster's hinge. Once they have opened, remove from heat and allow to cool so the oyster can be safely opened and returned to the heat to finish cooking whatever uncooked topping awaits (such as Oysters Rockefeller). The below techniques are cooking methods too, so if you are simply cooking to then finish with a lemon spritz or a sauce, cook until desired, pull from heat, let cool, remove the flat shell, top and eat.
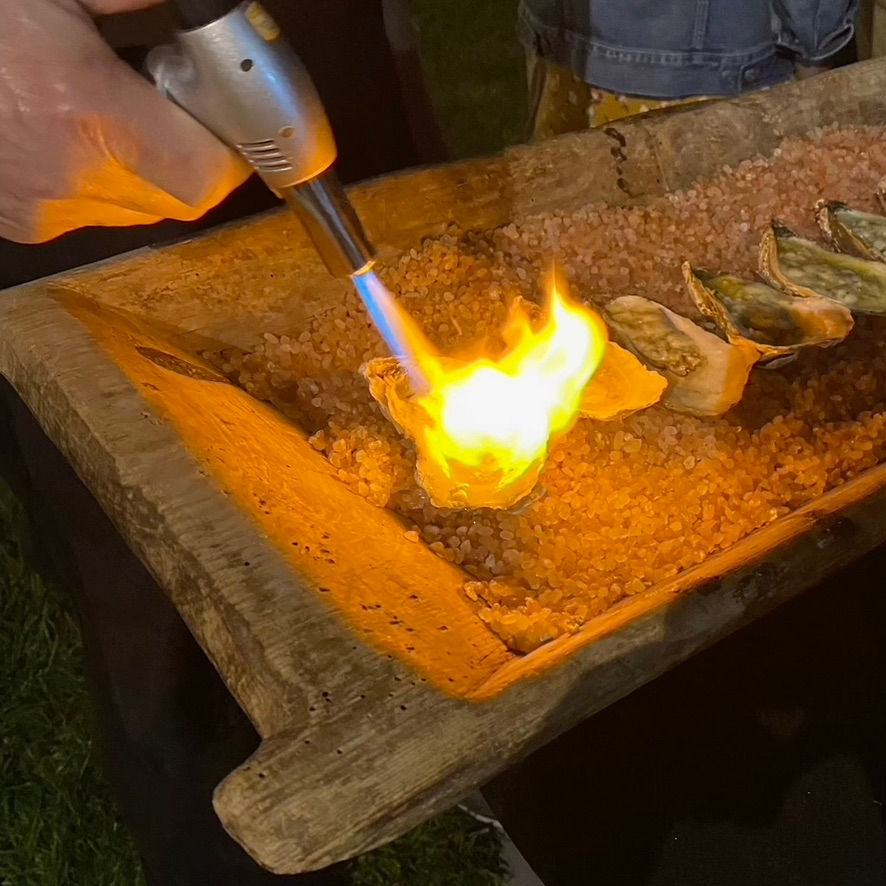
Fire: It is uncommon to use an open fire for the purpose of opening oysters to then return them back again to the fire for a second stage of preparation. When we cook on open fires, we start with the oyster already on the half-shell raw. Indigenous people living along marine coastlines used fire to help open their oysters for consumption. Archeologies often find shell inside fire pits and piles of discarded shells near excavations of shoreline camps. Similarly, modern oyster "roasts" steam-open oysters en masse for consumption and seasonal feasts. Most folks cooking oysters by fire are interested in a naked oyster ranging from slightly steamed to down-right burnt, or readily topped with melted butter or a sauce. If after you oyster is opened and your topping needs additional cooking time, open fires present logistical challenges for these types of recipes. We use a grilling basket like this for making Oysters Drago and similar recipes calling for cook time of the topping after the oyster has been opened.
Oven & Grill: The Oven and Grill are pretty much the same when it comes to heat and surface area. Your primary concern here is how to plate for cooking and presentation. Heat either to about 400 and in about 10 minutes, oysters will be spitting steam from their bills. The longer one waits, the more open the oysters will become, but be careful not to overcook! Use your eyes in addition to a timer as actual cook times can vary. Of note for indoor oven users, clean oysters will produce less odor. These odors are not from the oysters, but from other organics attached to the outer shell, which can quickly burn and smoke. For this reason, your outdoor grill might be your best bet. A counter-height workspace nearby will provide a convenient place for cooling and opening.
Microwave: For small serving sizes, and speed, the microwave is the steamed-oyster openers best friend. In the amount of time it takes to make a cup of tea one can open oysters. Place from 3-12 oysters on a microwave safe platter and cook on high for 2-4 minutes. Cook time to open depends on the appliance. You might want to cover with wrap or a paper towel to minimize clean up. Experiment and find the sweet spot for your appliance and taste preference!
Parboiling: This method does not completely open the shell like the above methods (unless you extend the boiling time) but it does make oysters easier to shuck (watch here). Use your largest stockpot and dunk between 12-24 oysters in boiling water for ~30/45 seconds. Immediately transfer to ice water to stop the cooking. The oysters can remain in the ice water until you are ready to use. Repeat for as many cycles as you wish. To make this easiest for a large quantity of oysters, use a seafood boil pot with removable interior boil basket. This way you can retain your hot water temperature as you reload the basket with the next batch. You will notice that this extreme in temperature does amazing things to your oysters from a visual perspective. It is important to realize that while this makes shucking oysters easier, it also will change their taste and natural essence because of the heat extremes and the likelihood that the boiled water and ice water change the oyster's natural flavor by diluting the oyster liquor. Raw oyster purists therefore shy away from


Comments